Steps involved in installing fence post caps to your fence posts
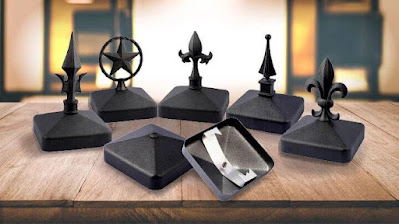
Post caps look good and also help guard the top of your fence post from water seepage thus increasing the post’s life, particularly for wooden posts. If you have steel or aluminum posts installed, you will see that a post cap is present with the post to offer a contemporary look and they can be pushed into position subsequent to the installation of the panels or slats. When it comes to installing fence post caps, there are no additional tools that are needed to fit them.

Installation process
Here’s what you need to do to install wooden caps on wooden posts. You need to keep in mind that decorative post caps cannot be installed directly on some posts since their screw is prefixed in the ball’s center which makes it hard to screw them down.
- When you start installing fence post caps, you must position the cap over the wooden post’s top part. Depending on the post’s height, you might need a stepladder.
- If the posts are half posts, you must utilize 2 exterior screws for one cap and screw one screw into every half post using a 30-40mm exterior screw. You need to position them in opposite edges of the widest parts of your parts.
- Depending on the screw type you have bought, you can make use of a driller to screw them directly or make a narrow pilot hole and then screw them by hand using a screwdriver since this helps in preventing the cap from cracking. You need to repeat all these steps for the remaining fence post caps.
Fence Armor is all about offering products of superior quality and longevity, combined with exceptional customer service. The company has evolved from a simple and effective post protection guard to a complete post protection system that covers several harmonious products.


Comments
Post a Comment